1099 Processing
1099 Processing
2 views
Jun 10, 2026
Updated Sep 01, 2026
Visual 1099
Screen Location - Main Menu > Accounting > 1099 Processing
- This screen has 2 tabs, Detail and Summary.
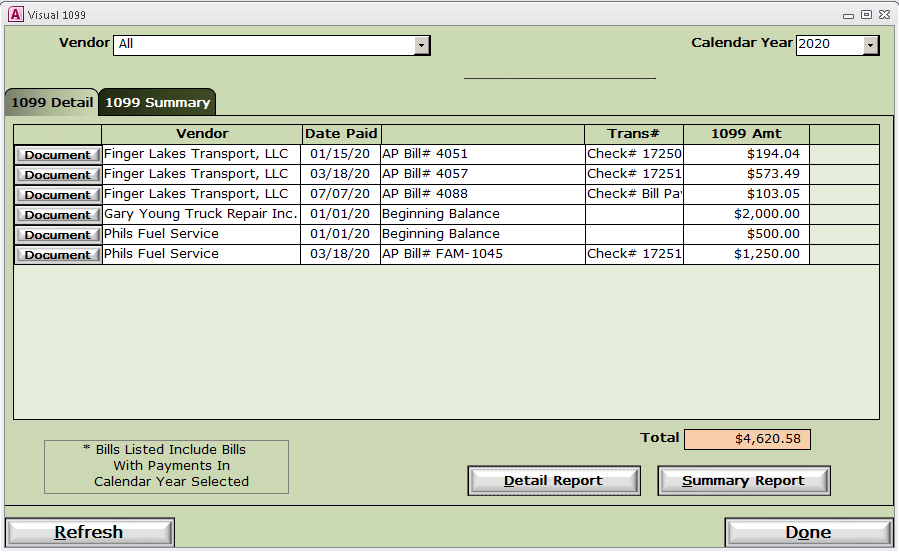
- The detail screen lists all the invoices processed for the vendor and their corresponding 1099 amounts
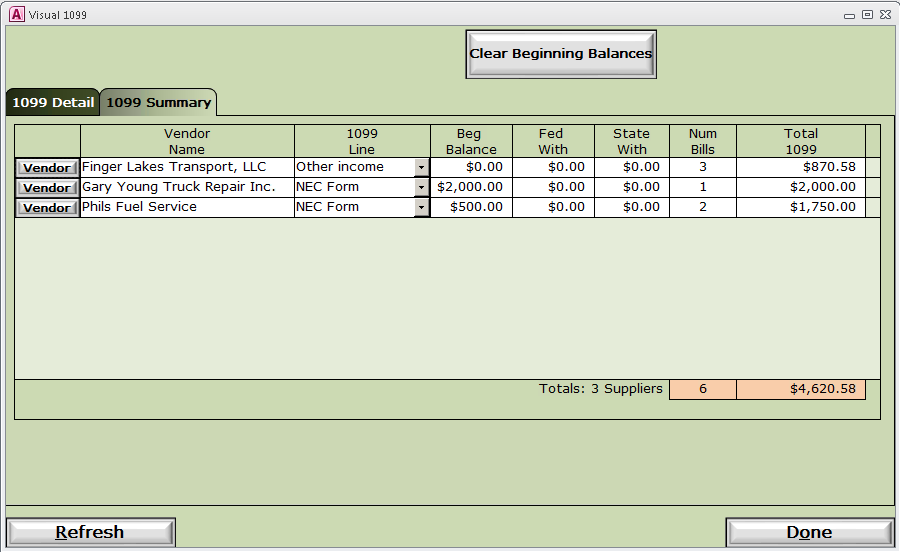
- Note: Make sure all the data is correct. You will not have another chance to change it.
- The summary screen list out the summary of the details and should match what will print on the 1099.
- From the Detail Screen, Print the summary report
Note: This report is what you will use to verify your printed 1099's.
Printing the 1099's
Generating the Comma Delimited File
Note: You need to make sure you are mapping your Local Disk Drive. Please see this FAQ for instructions.
Note: You will also need to have a PDF view installed to view and print the 1099's. Foxit PDF has a free PDF reader or use the free Adobe PDF reader.
- Screen Location - Main Menu > Reports > Ad Hoc Reports
- Click New then Finish and enter the following in to the SQL Statement window: EXEC dbo.usp_1099Export @Year = '2020' (or current year)
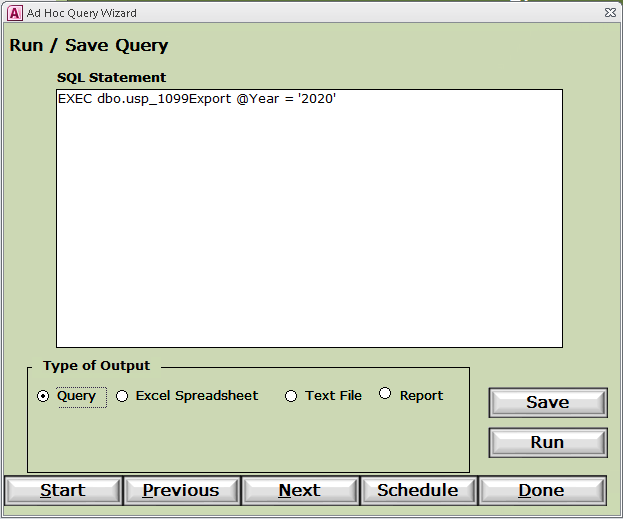
- Make sure the output is set to Query and Click Run.
- Note: You might receive a list of errors as a result. You need to fix these errors before proceeding.
- Repeat step 2 until there are no errors returned, only data.

- Once you receive actual data instead of a list of errors,
- Close the query results.
- Set the output to Text File and Click Run.
- Note: This will create a Comma Delimited ASCII text file on you local hard disk. Please note the location and name of the file.
Upload the Comma Delimited File to the 1099 Print Utility website
From you Local Computer's Desktop
- Open an Internet Browser, i.e. Google Chrome, Firefox, Edge, etc.
- Go to the following website: https://vp.haulware.com
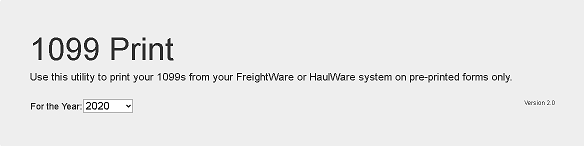
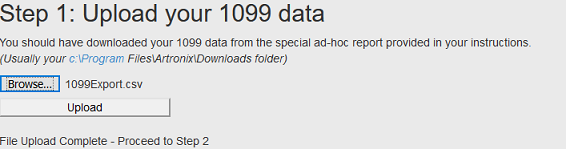
- Click the Browse button to locate the Comma Delimited file created above.
- Note: The file is usually located in: C:\Program Files\Artronix\Downloads.
- Click the Upload button to load the file contents to the website.

- At this point you will have a list of all Vendors and their 1099 amounts. Select which ones to generate 1099's for.
- In 2020, there are now 2 forms you can print.
- Your vendors with NEC Form selected for their 1099 Line will appear to be selected for that form.
- All other 1099 Line selections will appear in the Print 1099-MISC Forms print option.
- You can sort the list by clicking on the column headers.
- By default all vendors are selected.

- Select your options: Void or Corrected.
- Note: You can adjust your TOP and LEFT margins as needed to the 1099 to fit.
- Click the Create 1099's button to generate and download the PDF file.
- You should get a Windows Prompt to Open, Save or Cancel the PDF just created.
- Open to print now, Save to print later, be sure to note the location the file was saved to.
- Printing is sorted by Vendor Name
- It is most important to turn off Fit to Margin and any other Scaling options when printing the 1099.
- Test Print on blank paper and hold the print out against your 1099 forms to verify everything lines up before printing them.
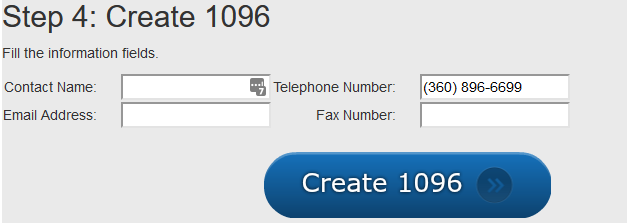
- Fill in and/or Verify the contact data:
- Click the Create 1096 button to generate and download the PDF file.
- Note: You should get a Windows Prompt to Open, Save or Cancel the PDF just created.
- Open to print now, Save to print later, be sure to note the location the file was saved to.
- Note: Number of Forms and the Total Reported boxes on the 1096 are calcualted based on the 1099s created in Step 2.
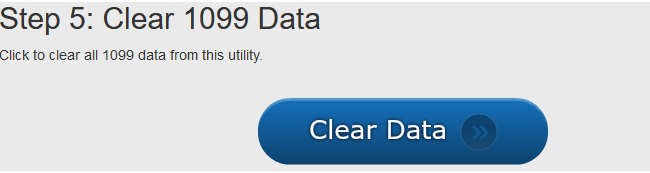
- Press Clear Data to remove all sensitive data from the website.
Please call or Email us for Information on this topic.