Data Import Wizard
Utilities
9 views
Mar 24, 2026
Updated Sep 01, 2026
Data Import Wizard
Screen Location - Main Menu > Utilities > Data Import Wizard
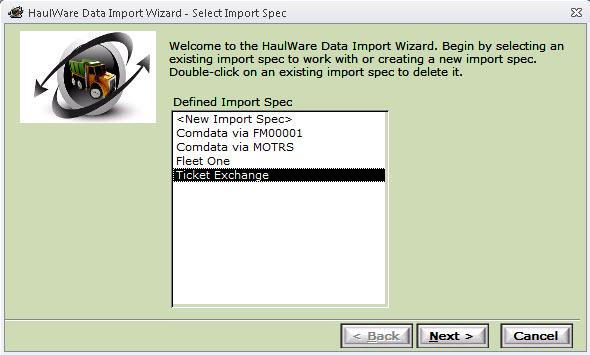
- Select Ticket Exchange and Click Next.
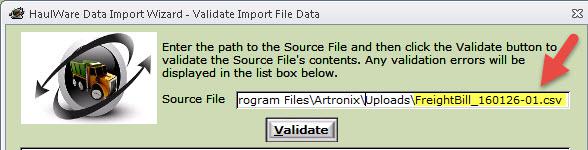
- The Ticket Exchange spec will by default look to your C:\Program Files|Artronix|Uploads folder for the import file. If you do not have this folder on your local machine and need help creating it, please call us.
- Cut or copy (Save) the csv file and place it in the Uploads folder.
- Make sure the Source File is pointing to the file you want to process. The file will always begin with FreightBill_(invioce number)
- Once you have populated the source file path, select Validate. The system will validate the file and return the results. If the file is valid you will get a success message. If the file does not validate you will see a list of the errors. Note: All validation errors must be corrected before import can occur.
- Select Next.
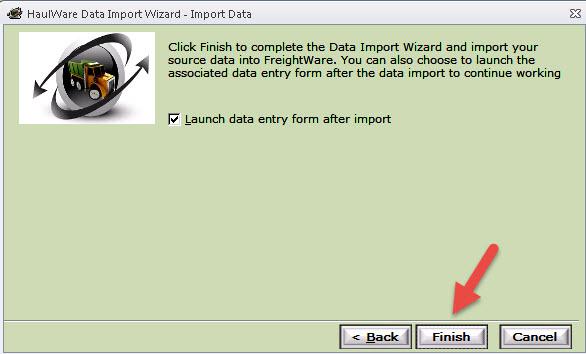
- Uncheck the Launch data entry form after import if you will be importing another file.
- Click Finish to complete the import.
This will close the Import Wizard and if you have the Launch data entry form selected, the Audit Screen will open.